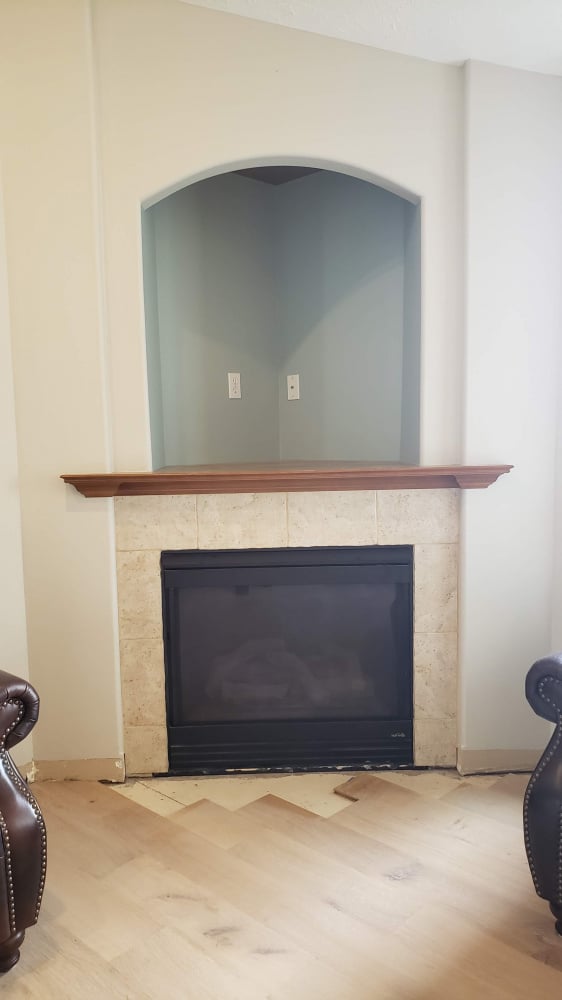
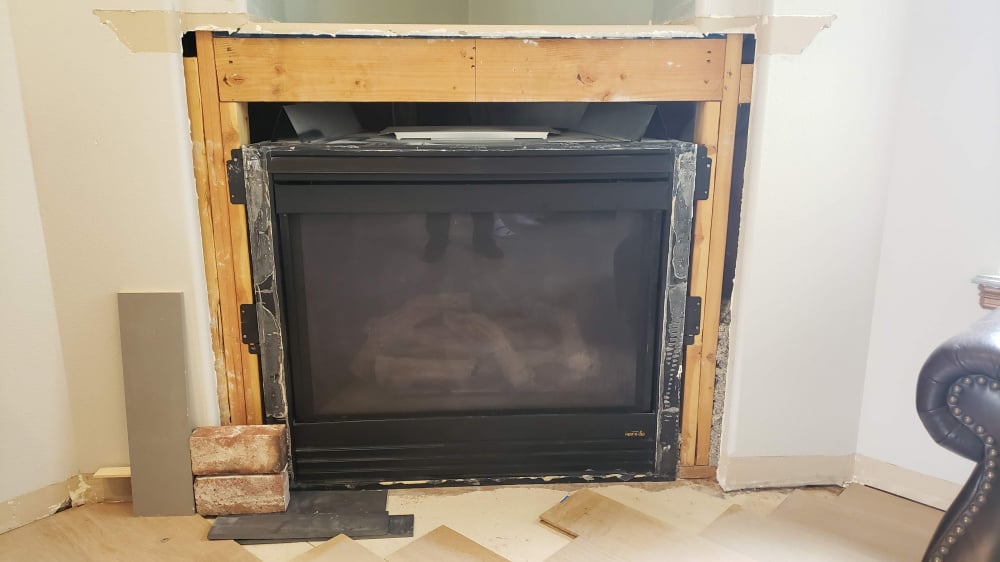
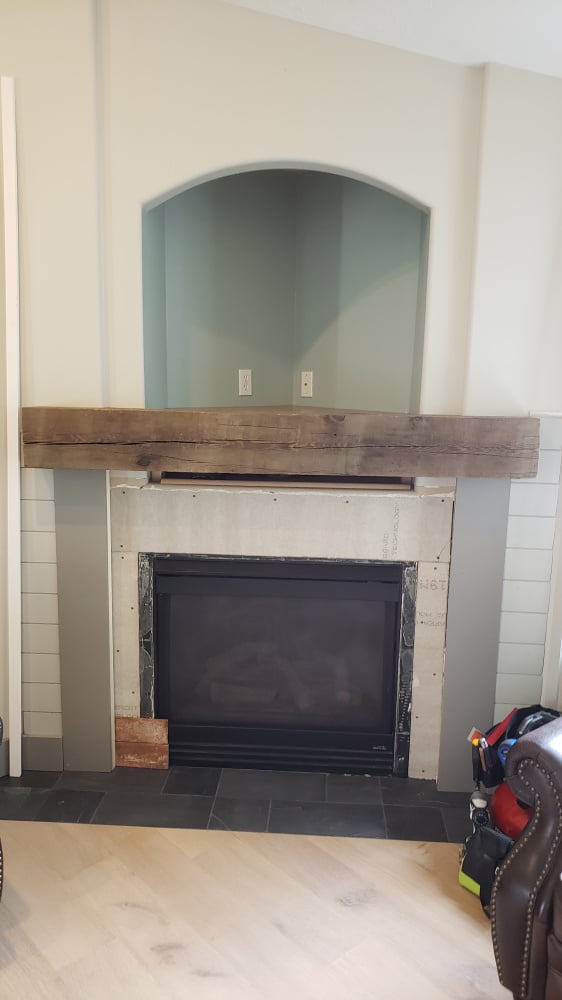
The last few days my wife and I have gotten a ton done on our fireplace remodel. My wife wanted a new mantle for the fireplace because the one that came with this home when we bought the place was pretty wimpy. So I promised her I would do that upgrade as her birthday present this year. We went and bought the 8x8x96 beam on her birthday (end of May), and we are just now getting noticeable progress completed. This lil project has required the use of every power tool I own, save for my planer and joiner! I've used:
Drills
Nail guns
mitre saw
skill saw
radial arm saw
table saw
router
band saw
sawz all
jig saw
Disc sander
palm sander
random orbital sander
and eventually I will use my tile saw
I am just about spent on this project!
To kick off the project, we pulled all the old tile and backer board off of the surround. With that, also came the old mantle piece and the shelf board (which was basically one piece with some trim below it to create a mantle-- pathetic!).
I got the backer board up and had our kitchen remodeling contractor lay the hearth tile (it was part of his project already since he was laying this slate in other areas-- that project is a whole 'nuther thread).
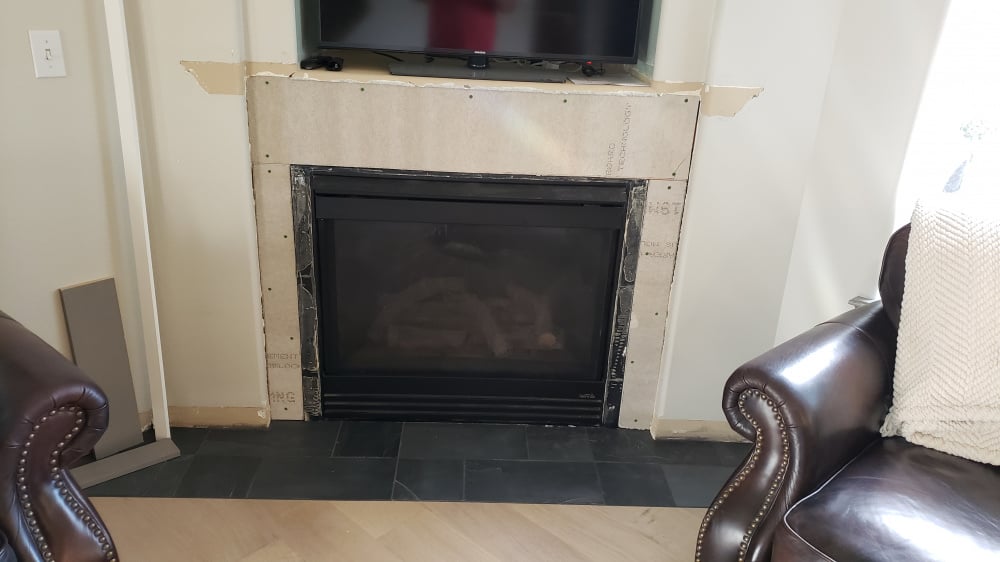
Next came the mantle piece. There was a ton of prep work to do on the mantle piece itself just to get it ready to install. It juts back into that ~2.5" wall recess, so that meant removal of a bunch of material from the ends. When it came to working with this beam the main problem was, of course, that I don't have anything that can make a clean cut through 8" material (the sawz-all can, but it doesn't make clean cuts, or at least I don't have the skill to with it). I had planned to use my band saw for the main cuts (cutting to length and to cut the end recesses, but when I went to use it, I discovered it only has a 5" opening! So I had to get creative and used a few different cuts from various sides (my father chided me for not using a hand saw, but he is apparently unfamiliar with my skill using one). We decided to try to keep one end in it's natural state, so the end on the right is a little bit rougher cut and is of course naturally weathered. On the cut end (the left end in these pics), my wife mixed some stain up that made it match the natural weathered look and her match is amazing! Next came the mounting. We'd read that one of the best ways to hang a beam like this on the wall, is to mount a 2x4 to the wall, and make a pocket in the back of the beam for it. That required a bunch of router work, as well as multiple passes with my skill saw (in retrospect, a nice stacked dado blade would have saved some time, but I don't have one and it was another $100 expense this project didn't need). The nice thing about this method for this project, is I was able to attach the beam to the wall mounted 2x4 from the back, so there are no fasteners showing at the front. Note that if you don't have access to the back and still want the no-fastener look, you can just keep your pocket tight and glue it, but that requires a bit of fixturing while the glue sets. Either way, the joint is very strong.
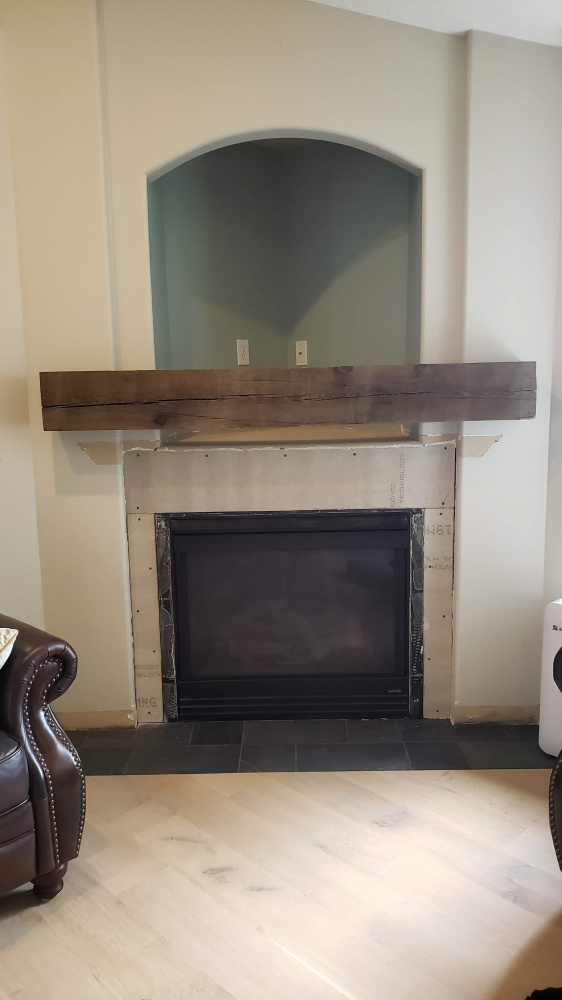
Next came some of the detail work around it. I took the old shelf board, cut the front off of it so it would fit in behind the new mantle piece, and raised it up to the new height. It's actually set down about 3/4" below the top of the mantle piece to help hide it, since it's different material and finish than the mantle. We may just end up painting it, but this keeps it out of sight either way. My wife had found a picture she wanted to emulate that included some shiplap in the surround, so the last couple days have been spent installing that.
Keeping the arch was going to be beyond the scope of what I wanted to do for this project because it's so time consuming to notch a board and soak it to get it to curl, plus this arch is the only arch in the entire home, making it a bit out of place. So I boxed in a new frame and ran the ship-lap over the arch. I will add some doors to that opening, eventually.
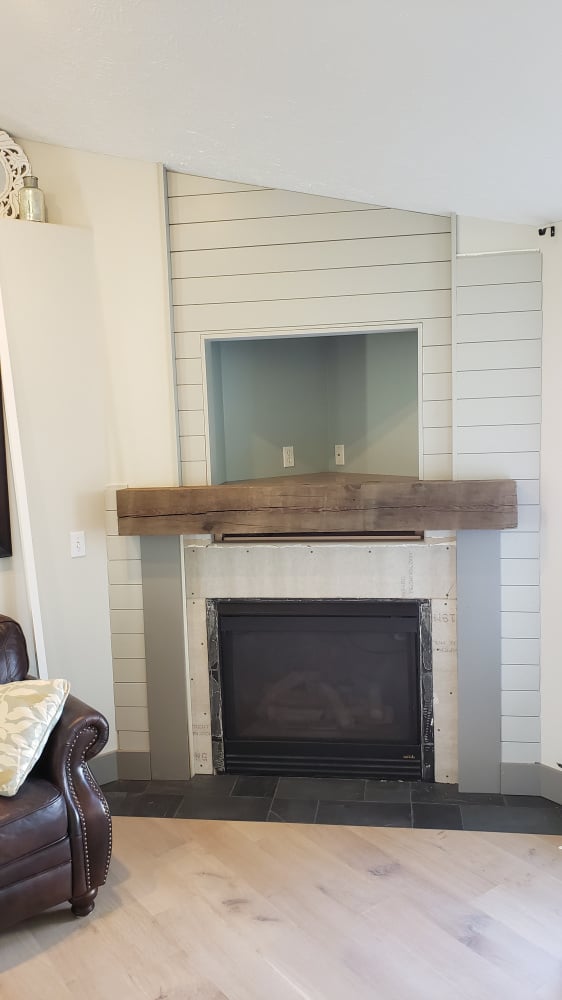
The last tricky part of this project has been the fact exactly nothing is square or level and the upper left portion of the left wall area isn't co-planar where it juts back across the wall shelf. There isn't a clean way to break between that area above the wall shelf and the rest of the wall, which I hadn't discovered until I went to run the trim up the left side. There was going to be a huge gap between either the terminus strip I would run at the end of the shiplap in that area, or the shiplap on the right, and likely both. As luck would have it, the shiplap piece that runs back into that area fits tight to the top of the wall shelf, so I just ran it back to the other corner. When I put my trim up on that side, it will just stop short as the top of the wall shelf (and will cover up the raggedness of the boards on that side).
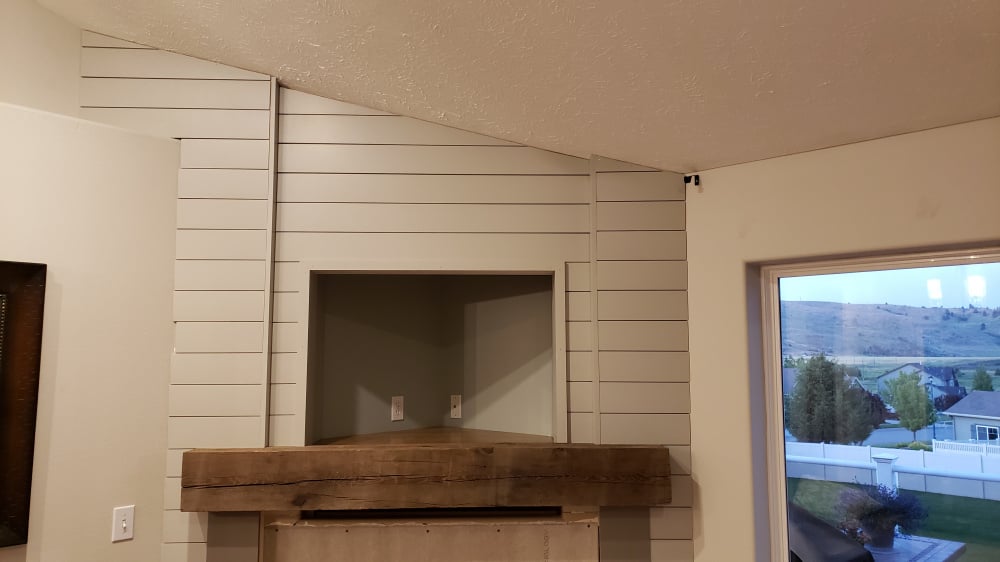
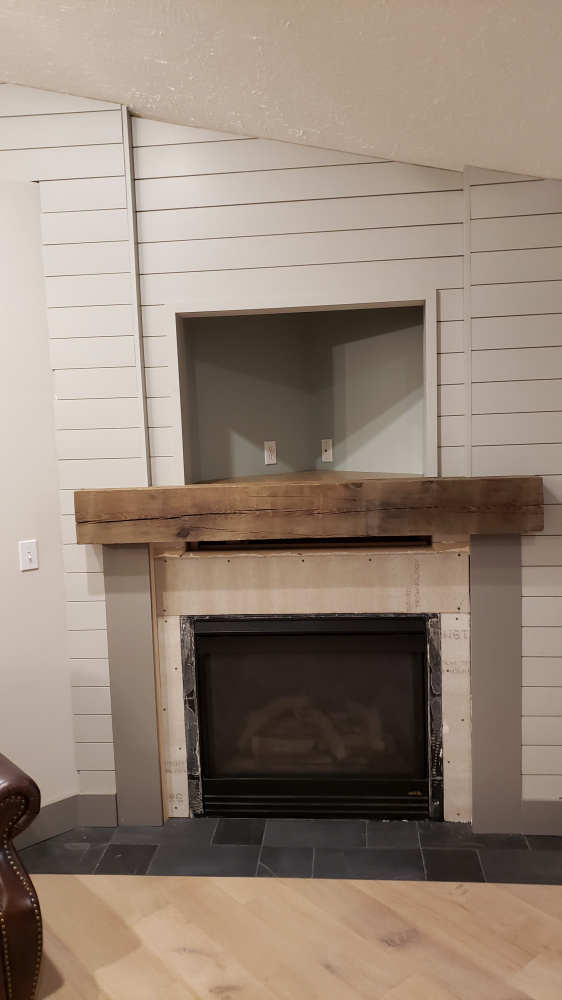
We still have the tile to set, which will be the antique brick that's been cut down to tile thickness that you can see in a couple of the earlier pictures. I still have some trim to install at the edges and above where the tile will go above the fireplace, and then there will be some corbels added where the "legs" meet the mantle, as well as a couple plinth blocks and another trim board that will give the legs some more dimension. Thankfully, my wife has volunteered to do all of the painting, because as challenging as some aspects of this project have been, painting is the thing I hate the most. Plus, she's a much better painter than I.


